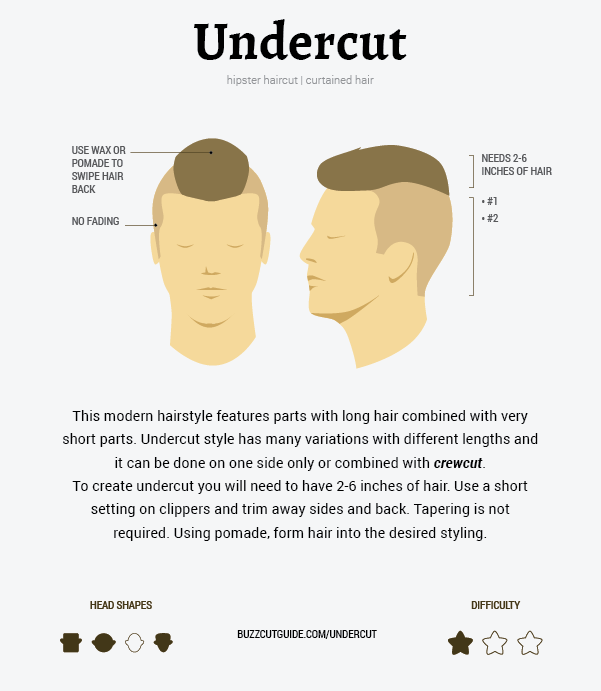
This modern hairstyle features parts with long hair combined with very short parts. It has many variations with different lengths and it can be done on one side only or combined with crewcut. In fact, the undercut is one of the main popular cuts within queer crowds. Luckily enough, it is relatively easy to do it, even at home. If you’re a bit too scared to do it at home at first, that’s okay — you’ll still be able to touch it up at home and stretch the life of your haircut until the next visit to the hairdresser.
Are you unsure whether an undercut is for you? Read more benefits of undercut and similar haircuts here, But we promise you, once you’ll try it, you will not want to go back. Ready? Let’s get to it.
Getting started
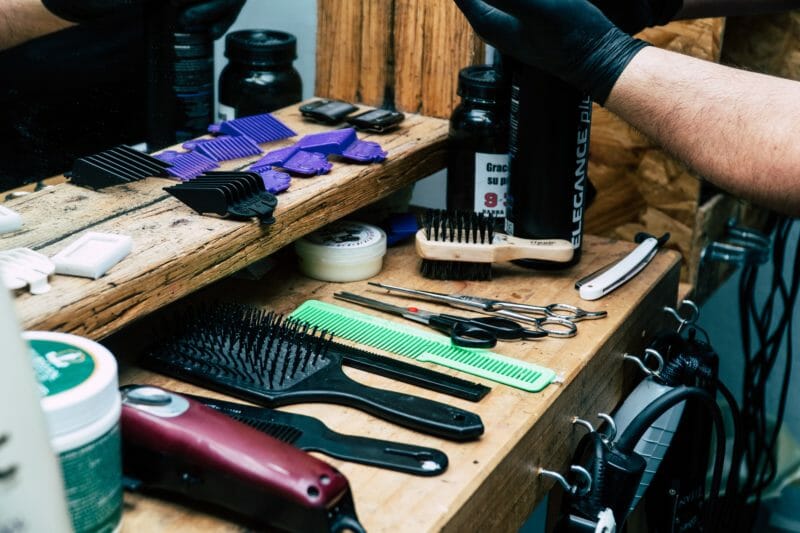
Before you start, gather what you’ll need: hair clippers, a comb, and a few hairgrips, in case you need them to separate the longer strand of hair. Cutting this haircut is very similar to cutting a mohawk, the main difference being that this one leaves out a wider strand of hair. You should decide how wide or narrow will your ‘longer hair’ part be, or how much you want to buzz off. If you’re doing this for the first time, start by buzzing off a smaller strand of hair before committing to a sudden change right away. To create an undercut you will need to have 2-6 inches of hair and of course (cordless) hair clippers. That’s pretty much it!
How to DIY
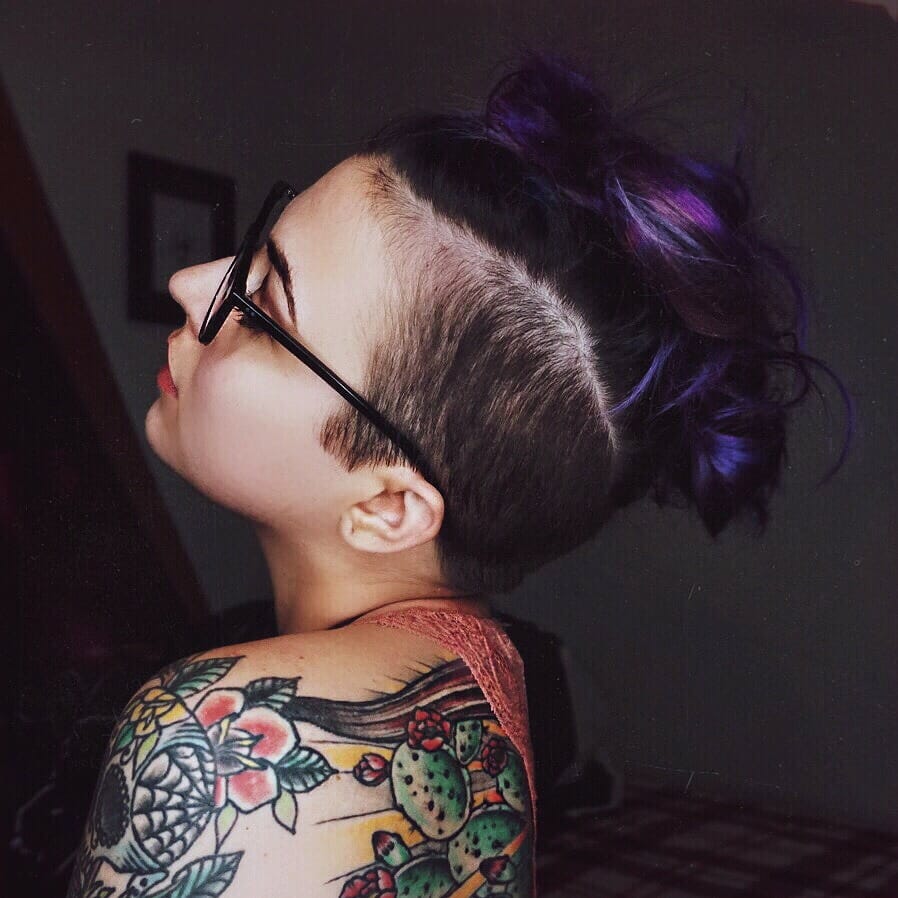
Now that you’ve divided the hair in parts, it’s time to buzz it off. Use a lower setting on clippers (like #1 or #2, or more if you wish) and trim away sides and back. Cover the top with your hand or use those hairgrips to keep yourself from cutting too much. You don’t need to taper sides and back, but a shorter setting on sides creates a nicer and more contrasted look.
Going for a sidecut
Not only does a sidecut look great, as it is also a good option for beginners: most probably the length of your longer hair will help you cover any mistakes.
If you’re still unsure that a full undercut is for you, shave just a quart of your head first (do use those hairgrips to help you). You can always go ahead and shave more 😉 Just remember, hair always grows back. Even though you should be careful when using your DIY skills, it is fun to let go some of the anxiety of doing it by yourself.
Finishing it up
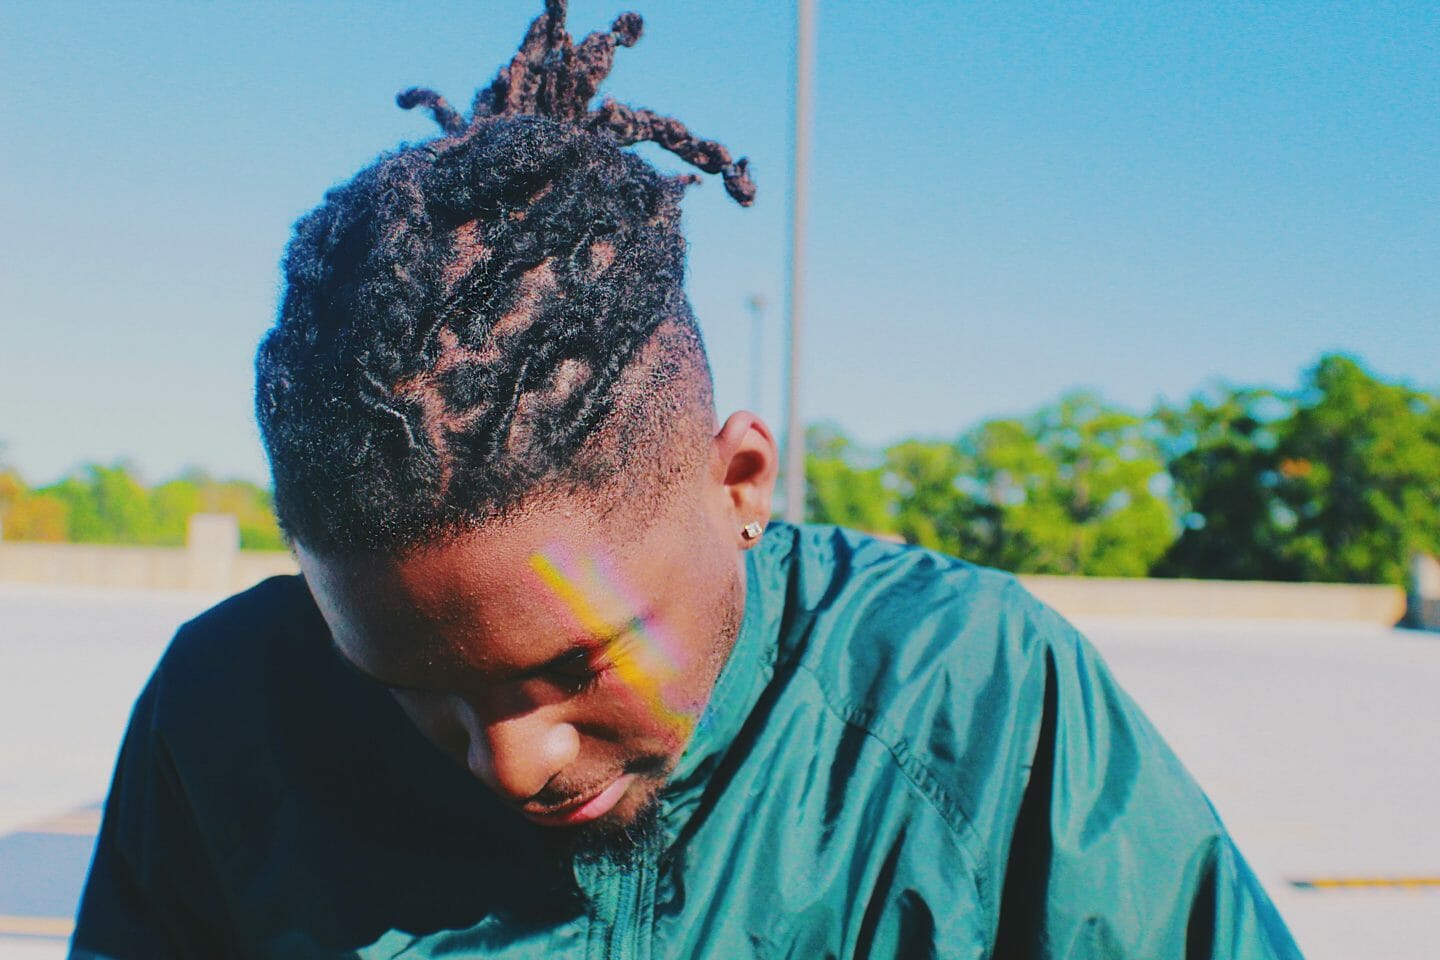
Now, clean up the edges. Touch up the areas around the ears and neck. Make sure these areas as well trimmed, as they are particularly difficult to reach with clippers. Use a pair of scissors to help you getting rid of some extra hair. If you’d like to add an extra to your cut, you can cut patterns into the short part of your hair, just like in the video here. Expect to touch up every 4 to 5 week depending on the length you’d like your undercut to be. Luckily, It is relatively easy to maintain it after the first big cut. If you just want to keep the cut you first did, just follow the lines you decided the first time.
Styling your undercut
It is now time for your final step – styling. Whether you use pomade, wax, gel or spray, don’t over look this final step. Opt for pomade or wax if your hair is curly and/or thick. If you have straight and thin hair, choose gel or spray. If you’re looking for more volume, flip your head upside down and blow dry around the longer strand of hair. Finish it up with spray to keep the volume up for hours.
Want to copy Macklemore’s style? Then this hairstyle is definitely the way to go. This is also a great haircut to look younger, plus it allows plenty of different options: you can combine it with short hair, long hair, cut one hair short, cut only the back short, add patterns to the shaved side, … Once you’ve mastered the art of cutting your own hair, you’ll find it easier to come up with new ideas.
If you enjoyed this post, you may also like other “lesbian” haircuts and unisex short haircuts.
Examples of undercut

